

A Pirate's Life Sea Of Thieves Guide

A Pirate's Life Tall Tale guide - Bounding main of Thieves
A walkthrough of A Pirate's Life, the first affiliate of the new Alpine Tale, in Sea of Thieves, including the journal locations and commendations guide.
A Pirate's Life is the latest Tall Tale in Sea of Thieves. This is a drove of five chapters, the first of which is also called A Pirate'south Life. In this guide, I'll provide a detailed walkthrough of the offset affiliate, including the Tales of the Damned and The Crew of the Headless Monkey periodical locations and the other commendations and secrets establish throughout.
A Pirate'south Life Alpine Tale guide
A Pirate'southward Life is the first affiliate of the new Tall Tale, A Pirate'south Life. This takes players into the Ocean of the Damned to rescue someone that is trapped aboard the Ferry of the Damned. The get-go chapter has 10 Journals to find, and several side quests to unlock. Here's the total listing of commendations and a short description of what each entails.
A Pirate'due south Life commendations
- Strange Shores – Navigate Dead Man'due south Grotto
- Tales of the Dead – Rescue the Cursed Captain
- Waiting for Eternity – Summon the Ferry of the Damned to Sailor's Grave
- Raising the Expressionless – Detect Dougie, the buried pirate
- Treasure for the Dead – Return Dougie's treasure
- A Powerful Thirst – Make full Captain Os'due south tankard with special grog
- Transport of Thieves – Open the door to the locked ship in Sailor'southward Grave
- Secret of the Grave – Discover the secret of Sailor's Grave
- The Prisoner – Release the Ferryman's Prisoner
- A Pirate's Life – Complete "A Pirate's Life"
- Tales of the Damned – Discover the Captain's Journals in Sailor's Grave
- The Crew of the Headless Monkey – Discover the Journals of the Headless Monkey'south Captain
- Mist and Retention – Consummate all Commendations in A Pirate's Life
Starting A Pirate's Life
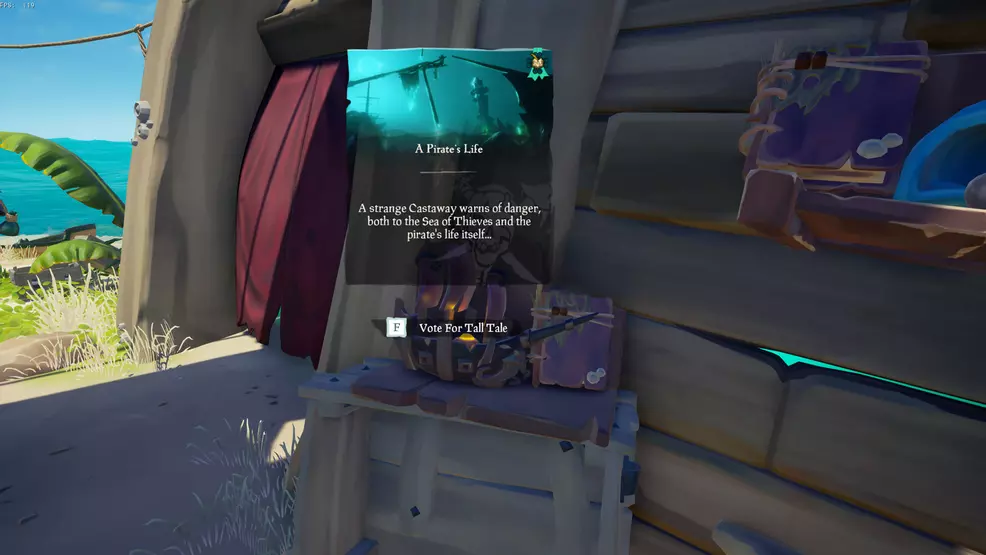
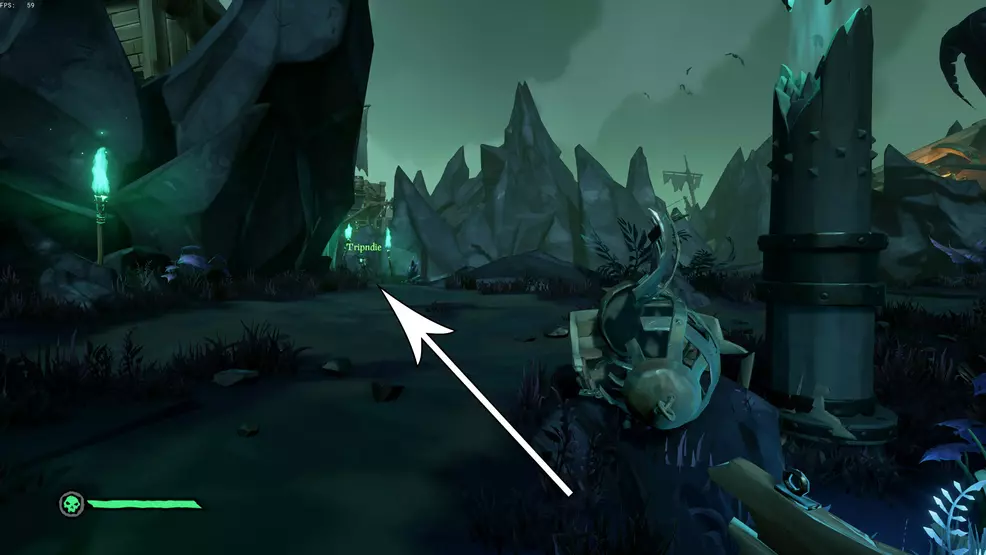
To start A Pirate's Life, begin by voting on the book beside the Castaway. Mind to her story and so sail through the portal that will open up nearby. Look for the glowing green portal between two rocks out in the ocean – there will be a green light shooting upwardly to the sky with clouds swirling above.
Sail through the portal and into the next surface area. You will be on an automatic ride across the ocean and into another portal on the other side. Once you pass through this second portal, sail to the isle ahead of you lot and weigh anchor – this is the offset of the Expressionless Man's Grotto.
Dead Man'south Grotto
After yous make landfall, head deeper into the isle, passing through the wrecked hull of a send. You will spot a statue with a bell, abreast which is a cave organisation. Head within.
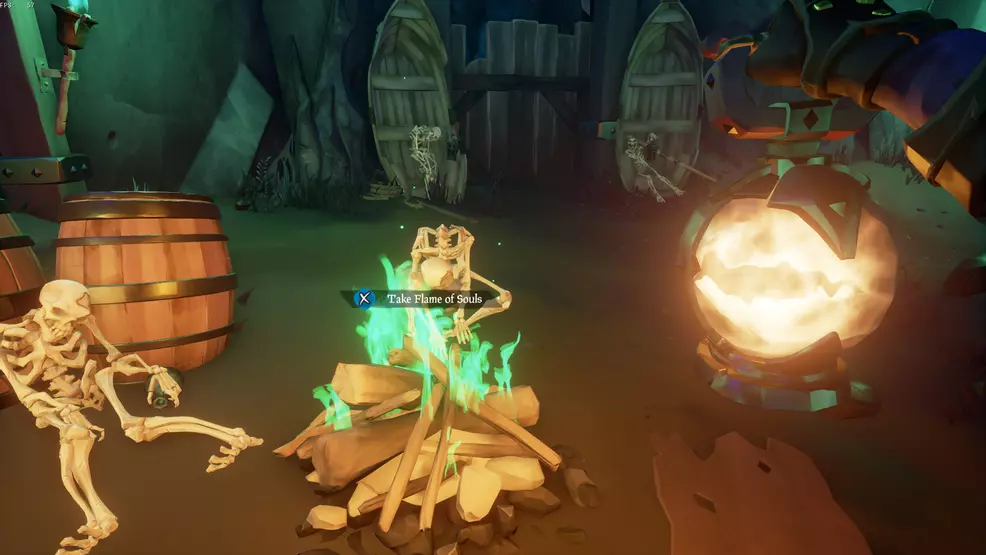
You will come up across a burn down with some skeletons and ii rowboats leaning up against a gate. Raise your lantern and catch the Flame of Souls. At present use it to light to the lanterns in the rowboats. Go through the gate.
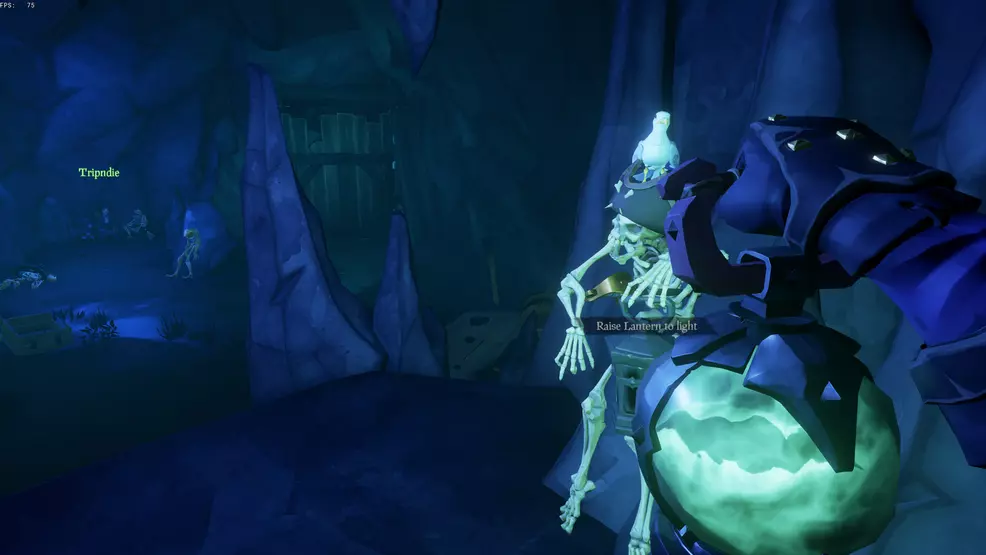
The next surface area volition have more than skeletons and three lanterns to light. The first is on the correct-hand side being held by a skeleton with a seagull on his head. The next is in the center of the room – you lot will need to move the skeleton's arm to get the lantern. The concluding is found by post-obit the flowing water to a wrecked rowboat. With the three lanterns lit, the gate will open.
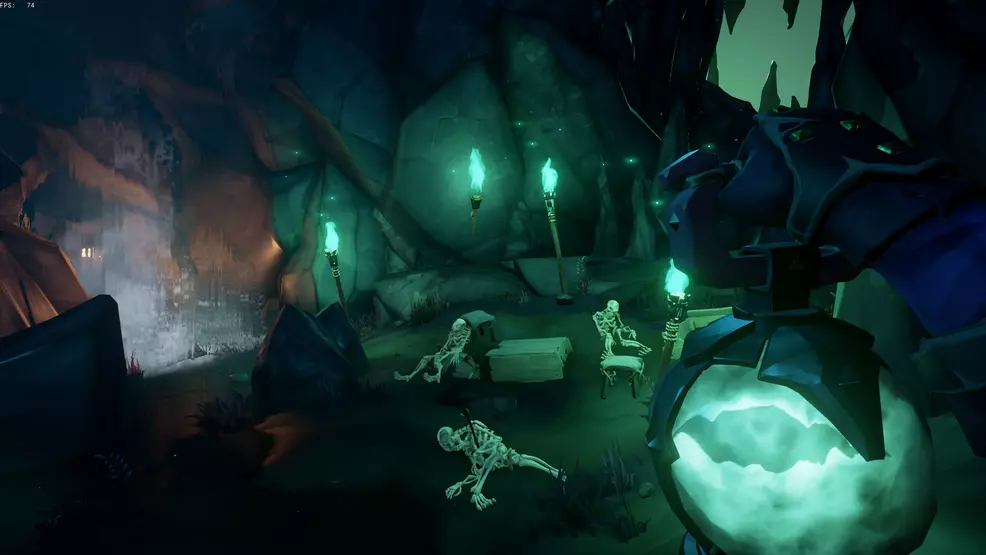
The next area you reach will accept some skeletons beside a stool and wrecked crates. The get-go fourth dimension you arrive, ghosts will appear to be partying. On your left is a waterfall, get through it to find an oar handle. Take the oar handle up the ramp in the previous room to the meridian where it can exist used to repair a door lever. Repair it and employ the lever to open the door.
In the side by side room, work forth the right-mitt wall, beingness careful not to fall into the mist. If you autumn in, walk back to the outset and try again. Go beyond the running water and into the next area.
This adjacent area has some wooden obstacles to traverse. Use your lantern to light the lantern on the crate to summon the ghostly images. Now, get up to the ballast and turn it to lower the drawbridge.
Go beyond the drawbridge and use the caster to raise a platform to reach the other side. Walk along to the end of the path to find another lantern that you must light. Expect for the ghosts to row up, at which point the next drawbridge volition lower.
In the next area will be a pile of gold. Apply the path around the perimeter to reach a serial of platforms. Jump beyond them to accomplish the other side.
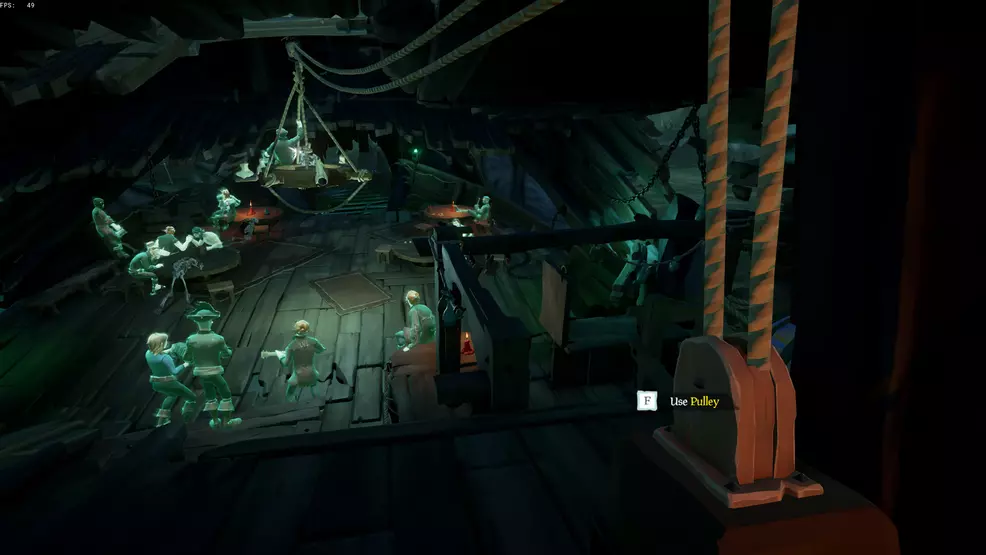
The next room has a ladder on the correct, climb it and employ your cutlass to cut the rope, causing a platform to fall down. Climb down the ladder and meet the platform to find a pulley and a mast. Apply the pulley to pull the mast toward yous. Jump on it and ride it to the other side. Cut the next bit of rope to drop some other platform down and jump across. Slide down the water slide to the next area – Sailor'south Grave.
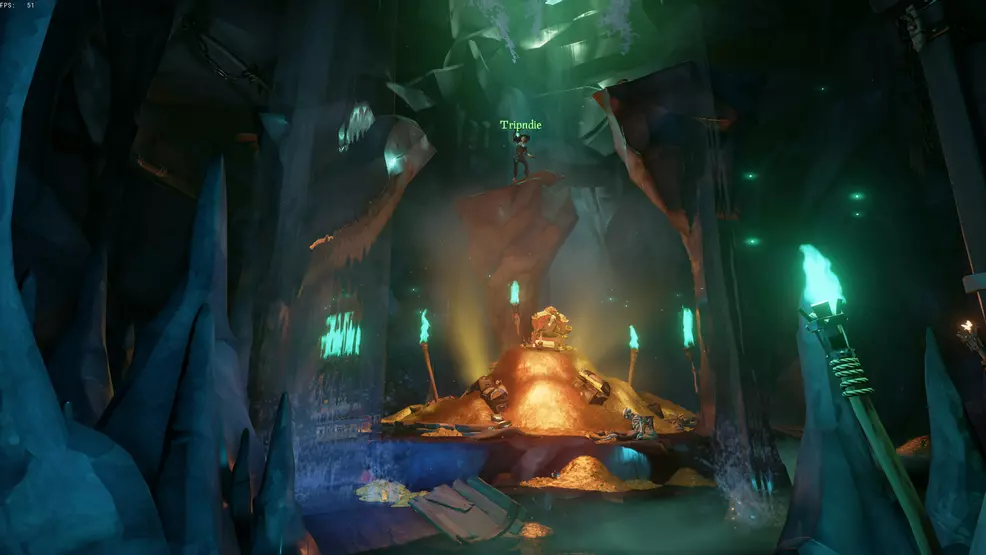
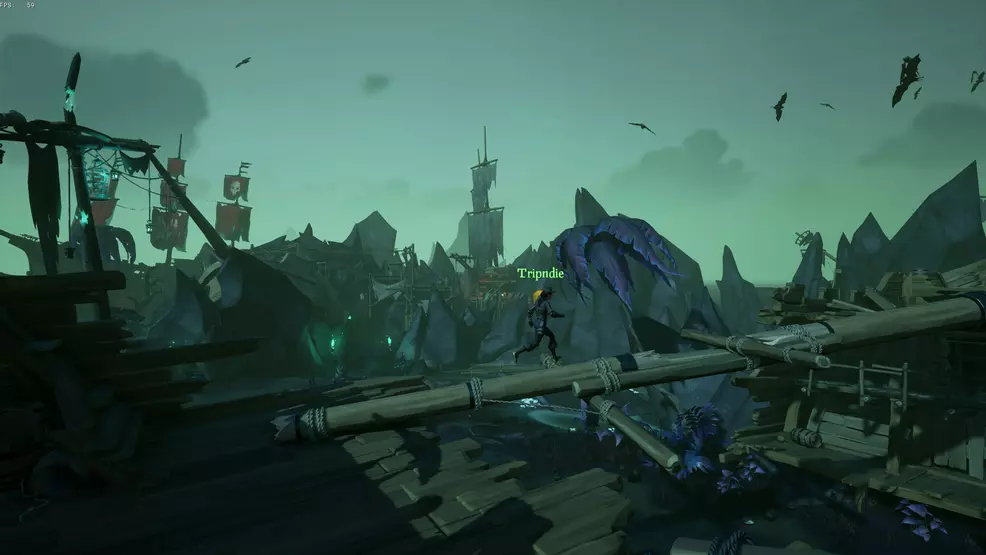
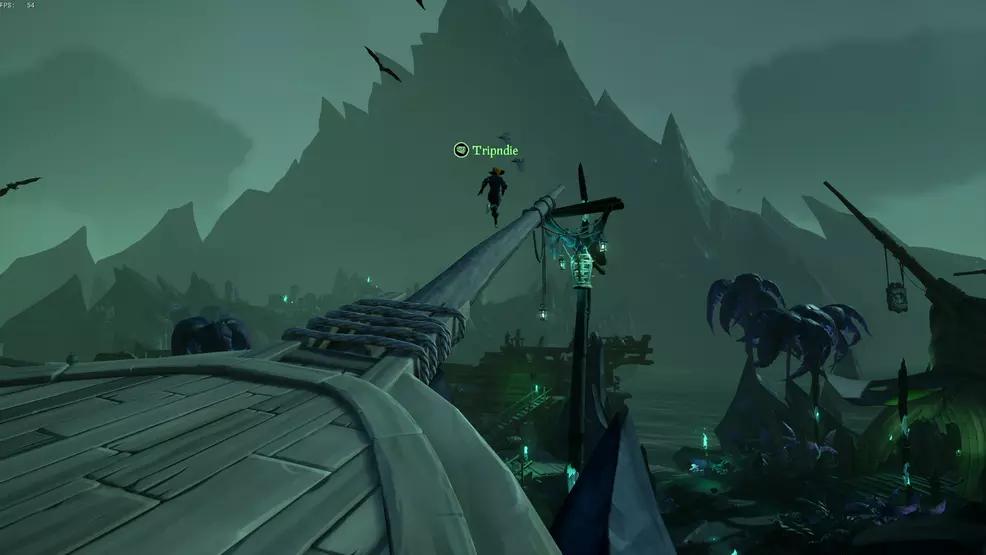
Sailor'southward Grave
Sailor's Grave is where you will spend the majority of your time, completing the various commendations and finding the 10 Journals. As a discussion of warning, the journals must exist nerveless before taking the Cursed Helm's skull to its final location in the ship with the cherry sails. You lot can employ the following links to jump to the journal locations, which are beneath:
- Tales of the Damned journals
- The Crew of the Headless Monkey journals
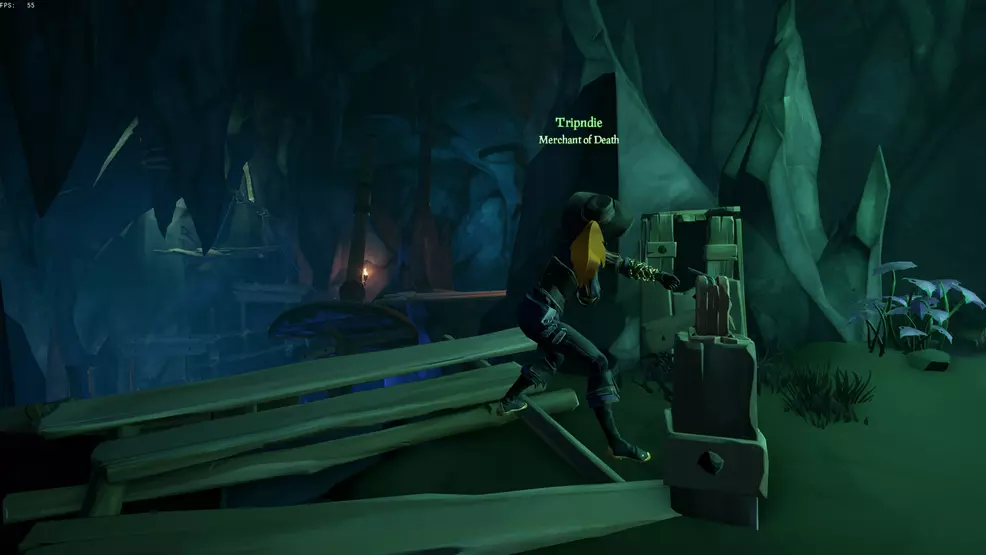
The outset lot of journals (Tales of the Damned) are found throughout the primary surface area and can exist collected as you lot follow the story. The journals for The Coiffure of the Headless Monkey are in a specific location that is locked unless you complete all the side quest commendations, which are listed below.
Brainstorm by descending the mountain to a locked gate. On the left will exist a brazier that yous must low-cal with your lantern, this volition unlock the gate and enhance the span.
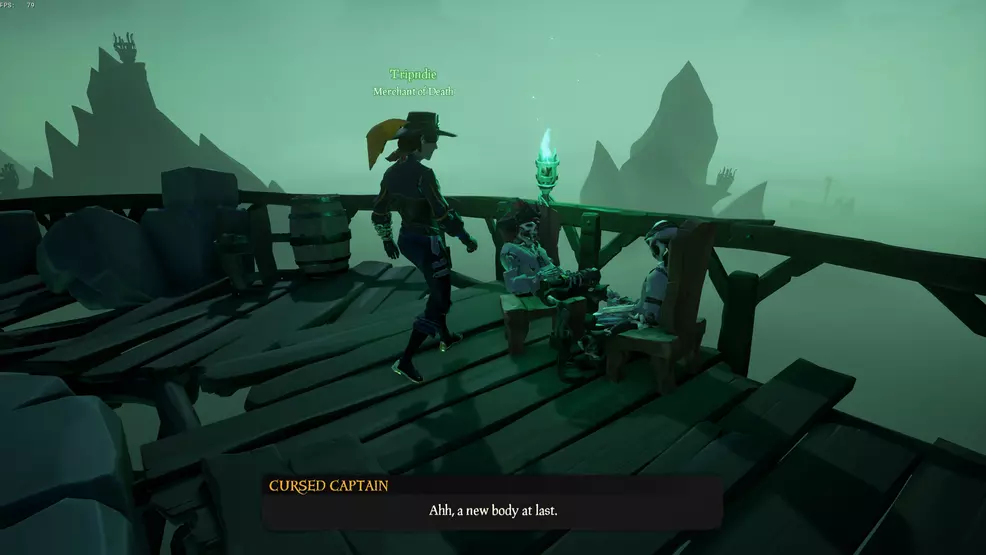
Follow the path to the heart of the surface area, y'all should begin to hear the Cursed Captain talking. You lot first task volition be to rescue the Cursed Helm.
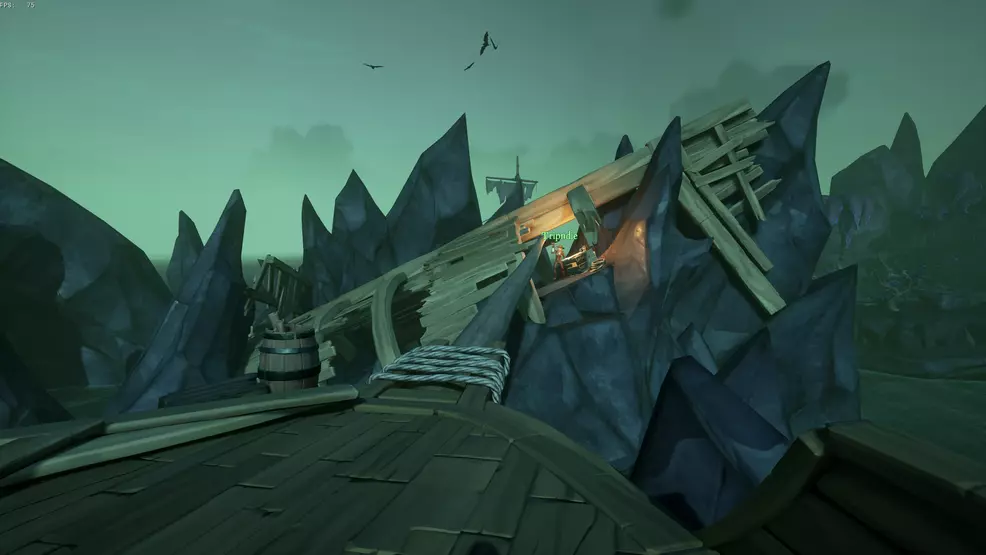
Use the stairs below the helm to reach the top of the wreckage – you will go around the back of the ship a scrap. Cantankerous the lashed together masts to the other side and and so run up the bowsprit and into the ship that's smashed on the rock. Driblet down into the water and swim to the other side.
Y'all volition come beyond a platform with a caster organization. Utilise the caster to lift yourself upward to the side by side level. This platform contains another pulley likewise as the locked door of the ship – this concluding chip is for later. Utilize the next caster to raise a pallet of crates and barrels. Leap across to the next level.

Another pulley will be on the right-hand side. Utilise them to move two platforms across the gap. Yous must spring across them to achieve the other side. If you autumn downward, plough around and apply the platform-pulley system yous used to accomplish the top.
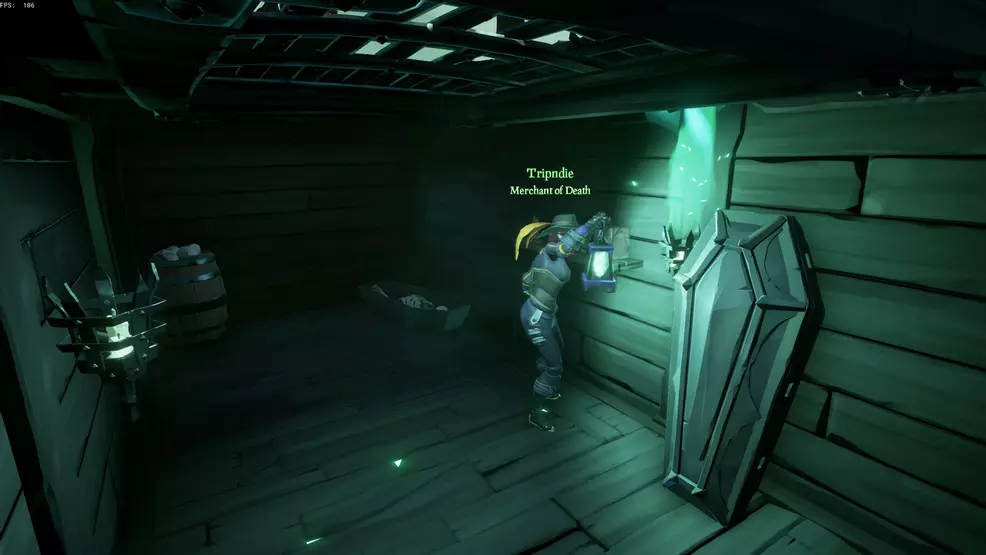
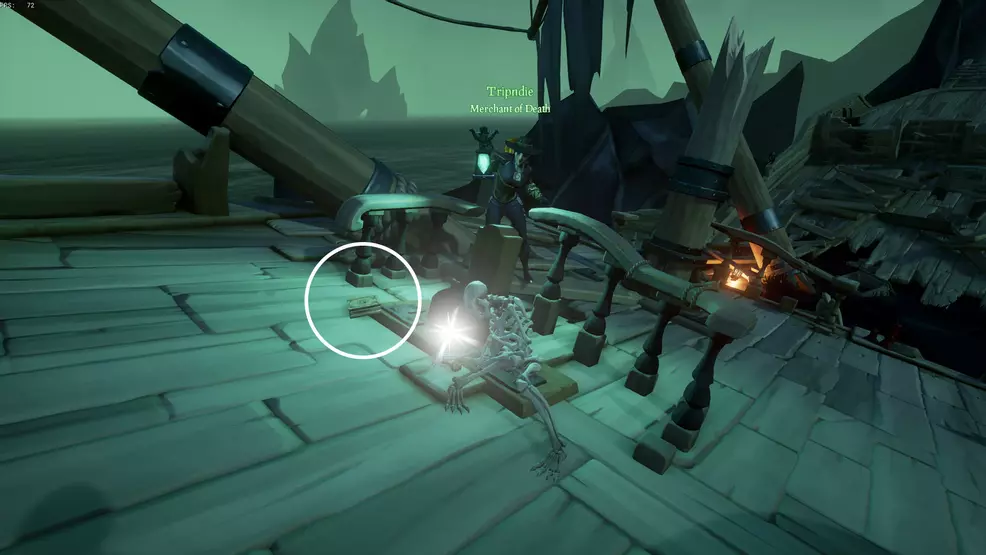
Climb the bowsprit to the muzzle. You volition need to employ a cutlass to cut the rope, lowering the cage to the ground beneath. With the cage lowered, you will need to find the cage key.
The cage cardinal is plant in the tavern, which is to the side of the area. Enter it and get up behind the bar to find a pulley. Use the pulley to lower the chandelier, which has the key on it. Grab the cage key and take information technology dorsum to the Cursed Captain and unlock his cage.
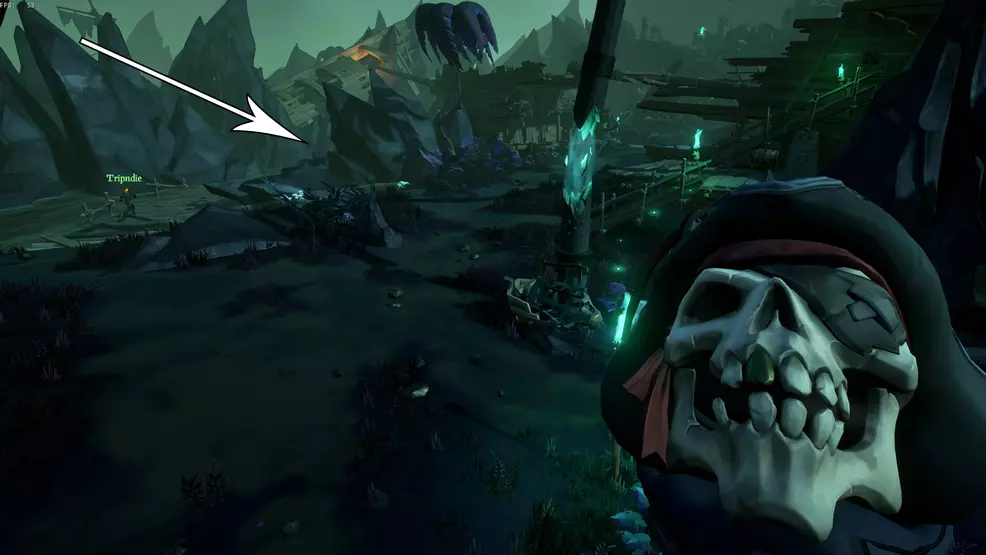
At this indicate, the Cursed Captain will direct yous to go to the lighthouse, however, at present is a skillful time to exercise all the other side quests around Sailor's Grave. So let's do that.
Find Dougie
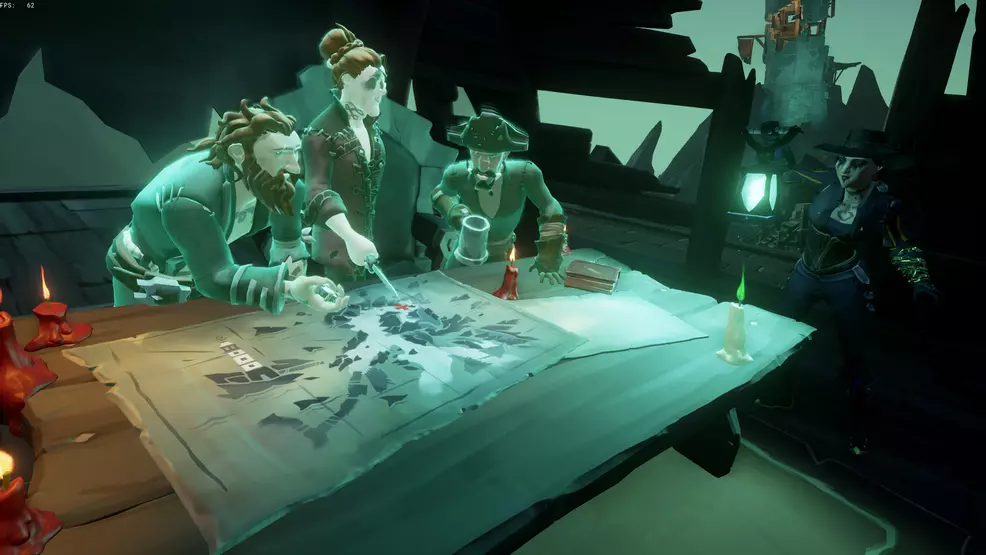
Now, you will need to find Dougie, the cached pirate. Head back into the tavern and into the room up backside the bar. At that place volition be a map on a tabular array – use your lantern to light the candles. Ghosts will appear and point at a cherry Ten on the map. You volition need to head to this location.
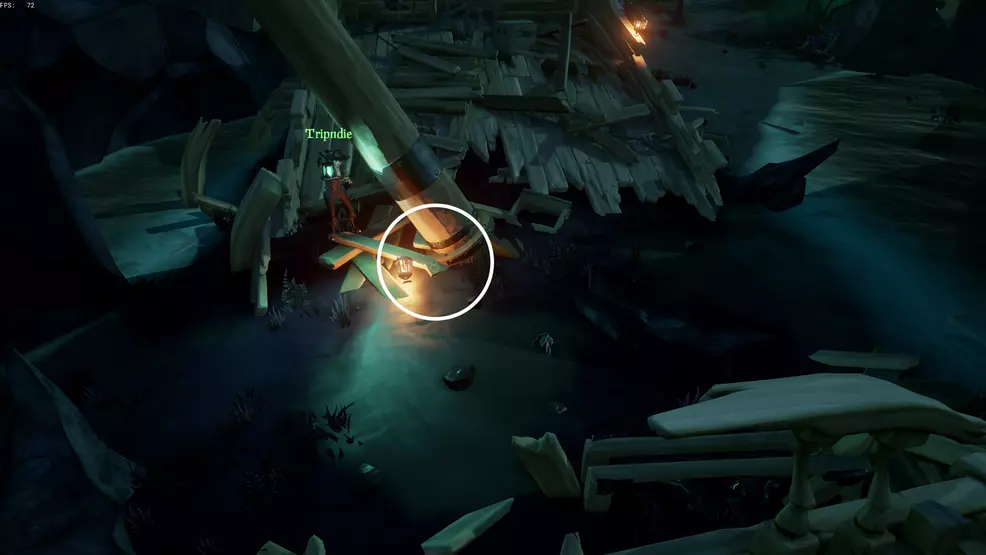
To find the X, head towards the ship with the cherry sails and keep along the path until you discover a hole in the basis with some golden around it. Follow the trail of gold coins to a broken ladder, to attain the top employ the mast that's fallen down.
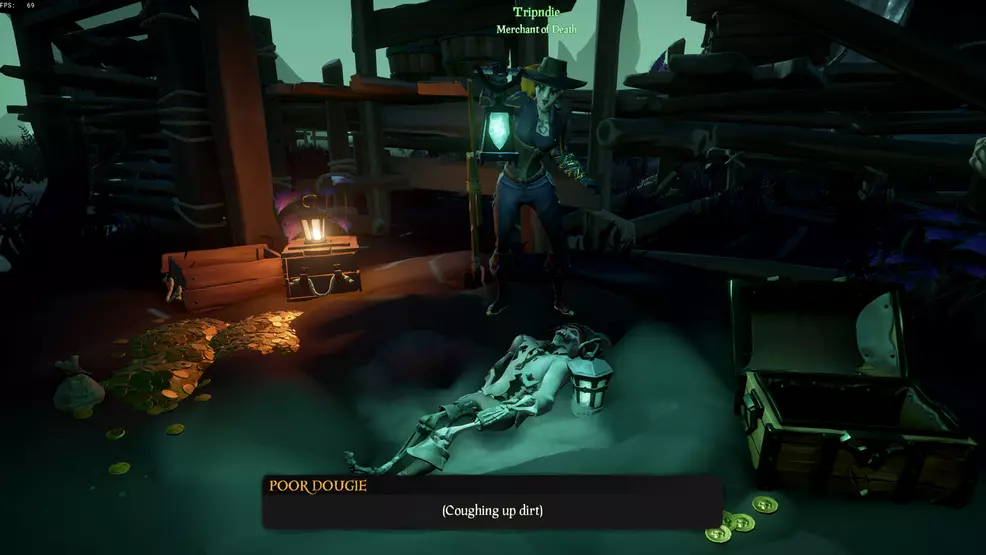
The coins will atomic number 82 you back down the rocks and toward a wreckage beside the tavern. In that location will be a hole in the ground, dig here to unearth Dougie. Lite his lantern to bring him to life.
Find Dougie's treasure
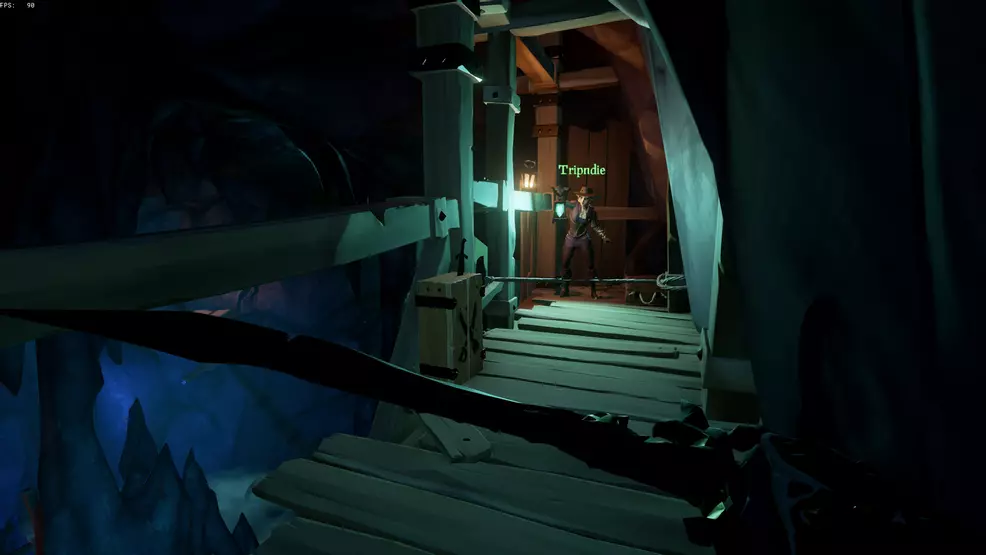
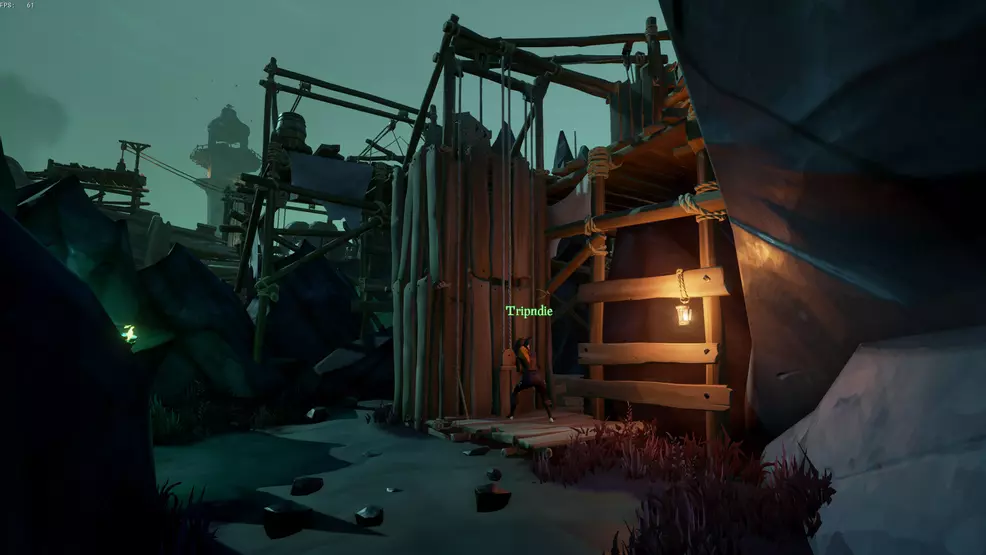
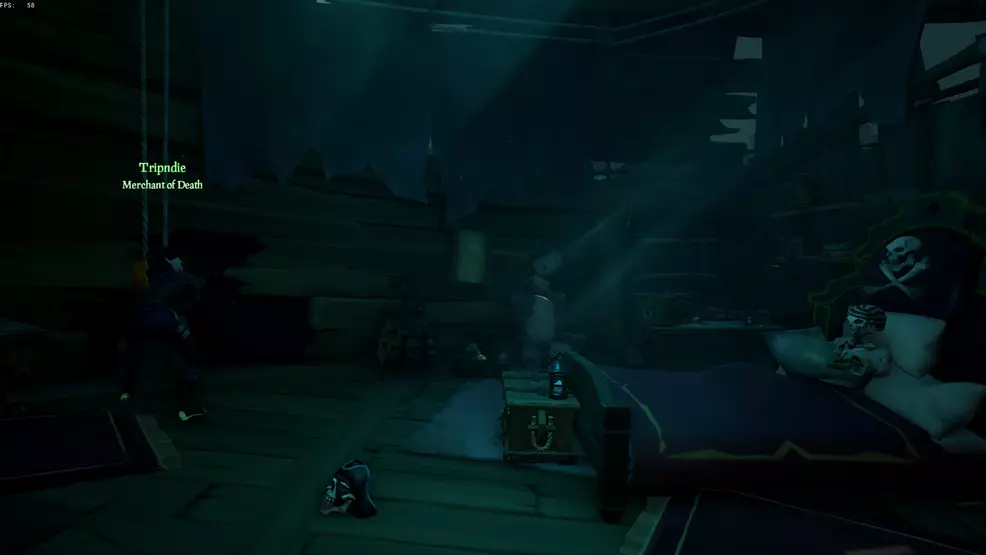
Next, you will need to notice Dougie'due south treasure, this begins with finding the treasure map. Caput dorsum toward the center of the area, where the Cursed Captain'south cage is located. On the side of the surface area will exist a boardwalk heading effectually the rocks to the front of the broken ship. Open the ship door and head inside to discover a skeleton in a bed.
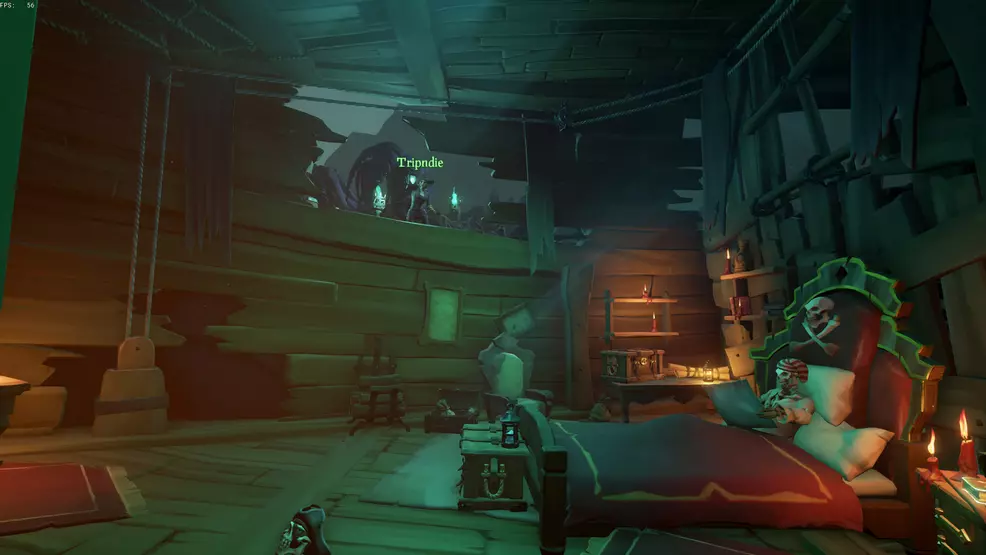
Use the pulley on the left-hand wall to open the defunction. On the right is a door to the balcony that has iii torches to low-cal, two beside each other and ane effectually the corner.
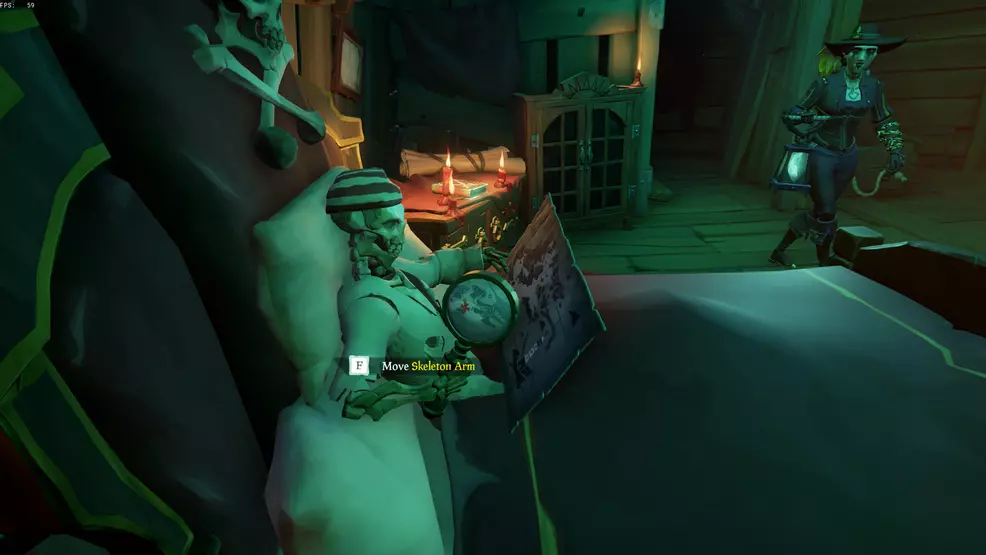
Caput back to the bed and movement the skeleton'southward arm to meet through its magnifying glass. Yous volition see a red X on the map (information technology's outside the tavern).

Go back outside and to the front of the tavern. The place to dig is a few feet from the tavern's wooden planks. Dig up the breast and now have it back to Dougie. Concord the chest and collaborate with Dougie to place the chest on the ground. Dougie will give y'all his central to unlock it.
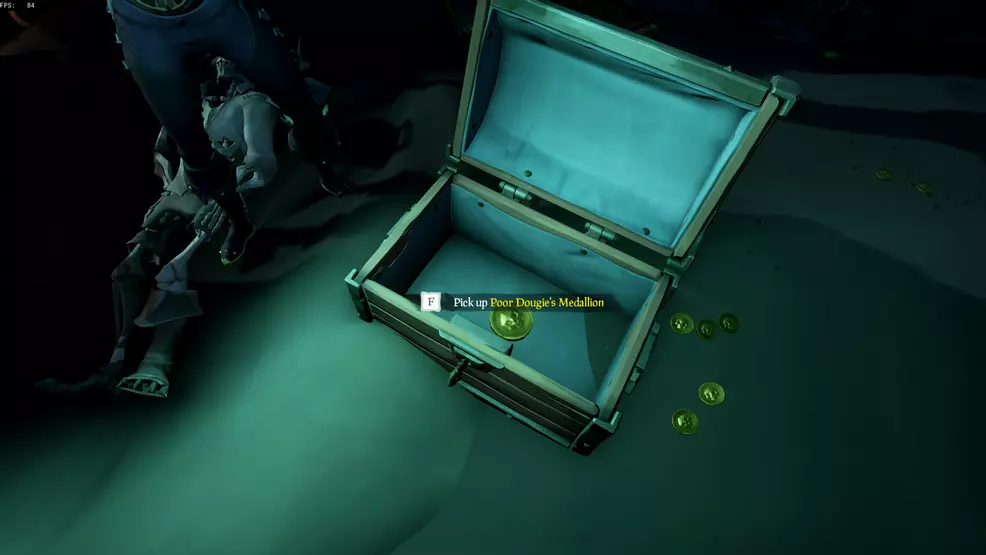
Use Dougie's primal on the chest to open it. Grab Poor Dougie'southward Medallion and head back to the center of the area.
Skeletons playing chess
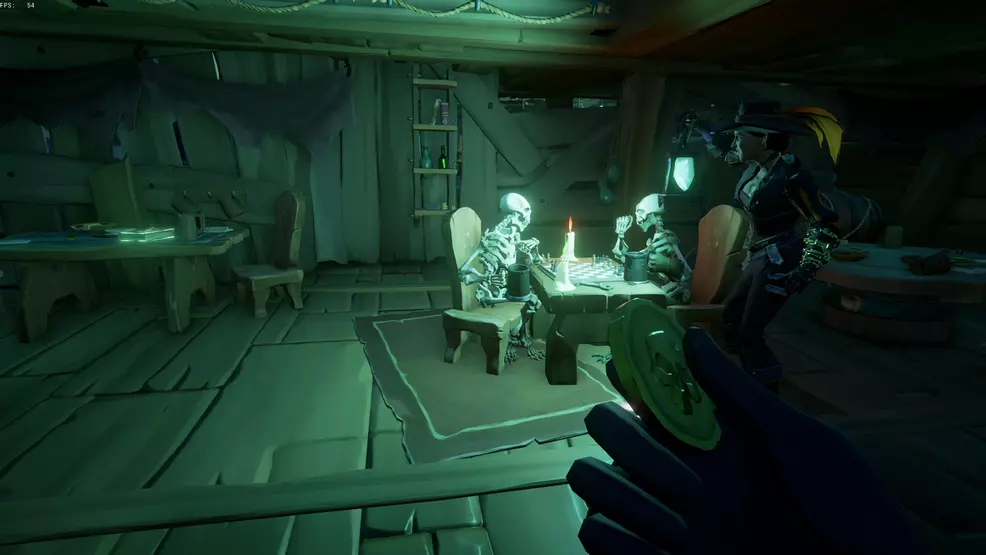
The side by side task to complete is the commendation, A Powerful Thirst. This is achieved by going to the two skeletons that are playing chess. They are found in the back of the cleaved ship, backside the Cursed Captain's cage. You must also do this commendation if y'all want to do Ship of Thieves and Hugger-mugger of the Grave.
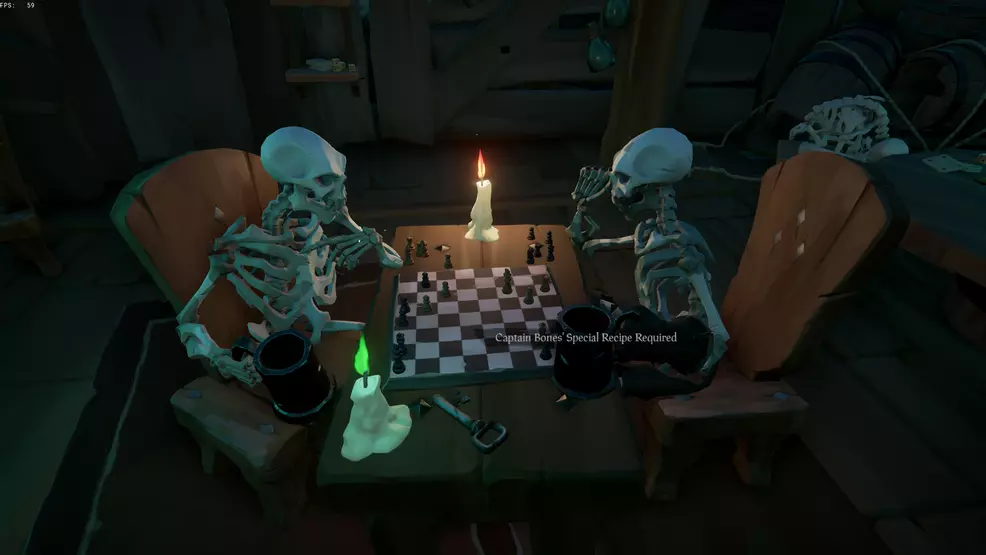
Y'all can leave Dougie'due south medallion hither. Lite the candle using your lantern. Watch the skeleton's move, at ane point the one on the right will effort to drink just will be out of grog. You will at present need to find Captain Basic' Special Recipe.
To detect Captain Bones' Special Recipe, go from the Cursed Captain's cage back to the pulley elevator. This is found through an alleyway lit by torches. Become through the alley, use the caster lift, and jump across the crates.

You will at present exist looking for a small-scale pigsty in the side of the rock that tin can be jumped into from the small platforms. Spring into the cave, take hold of the bottle of grog, unlock the gate, and return to the chess-playing skeletons.
Apply Captain Bones' Special Recipe to fill the skeleton's tankard. After the skeleton explodes, you lot volition need to put Poor Dougie's Medallion on the table as the buy-in. Adjacent, put the Cursed Captain'southward skull on the body. When you're able to, take hold of the Send'due south Key from the table. This is used to unlock the send at the top of the pulley lift.
The locked door – Ship of Thieves
After completing A Powerful Thirst, getting Poor Dougie'southward Medallion, and claiming the send's key, you'll be able to unlock the locked door yous plant at the tiptop of the pulley lift. Doing this unlocks Transport of Thieves.
Accept the Ship's Key to the center and go back down the alleyway to the pulley lift. Utilize the key on the door to unlock it. Go inside and grab the coins from the flooring. Head out the dorsum and employ the pulley on the right-hand side to turn the sails – this volition allow yous utilise the lighthouse to light the brazier.
With that out of the way, you lot tin continue to the lighthouse.
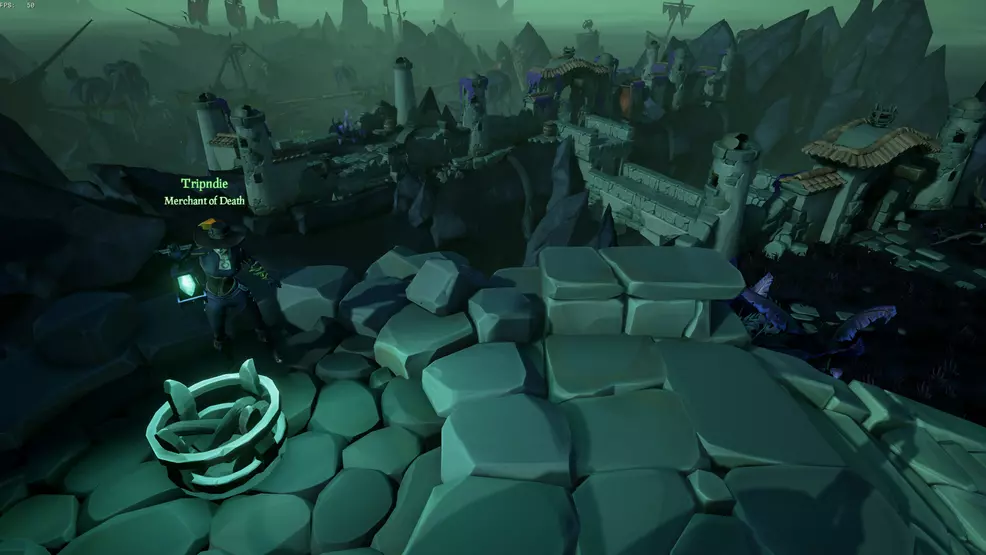
Sailor's Grave – The Lighthouse
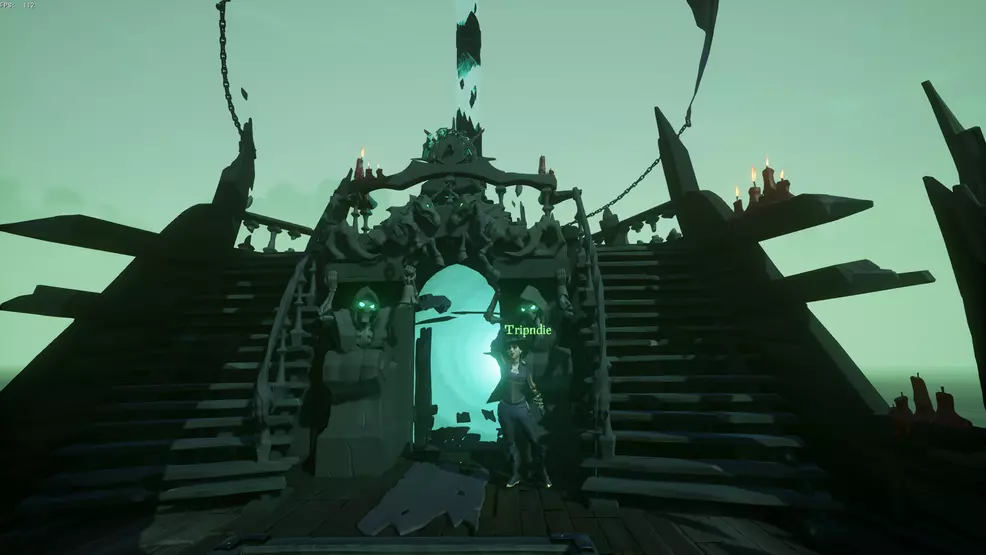
With all the previous tasks washed, you're in a skillful spot to proceed to the lighthouse. Make your way in that location with the Cursed Captain and cantankerous the bridge. Climb to the acme of the lighthouse and place the Cursed Helm on the headless skeleton.
Now, climb the ladder to the very acme and apply your lantern to light the brazier. I wheel will turn the beam of light and the other volition tilt the lite upwards and down.
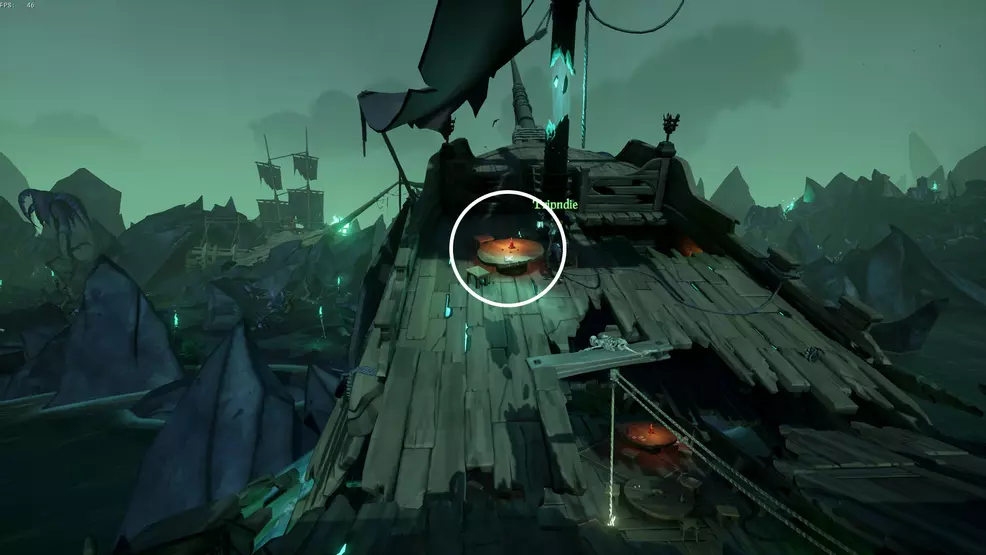
Plow the light around and light up the brazier y'all revealed by moving the sails behind the locked ship door. This is critical in acquiring the Journals of the Headless Monkey's captain. You tin can now safely light the other three braziers out across the water. Afterward the Cursed Captain is set up to get, catch him and head back down – you should now go and get the Journals of the Headless Monkey'due south helm.
Sailor'south Grave – The ship with the red sails
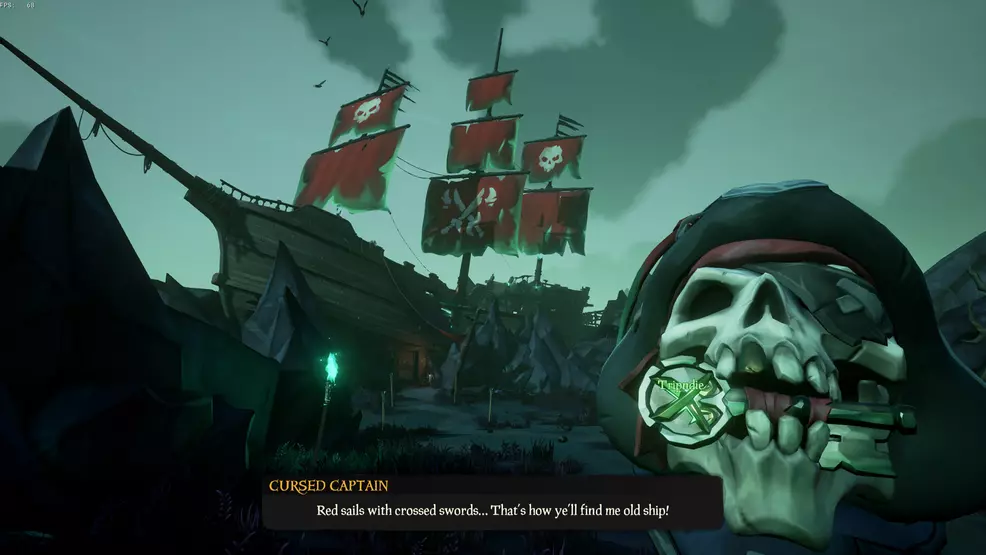
Afterwards you've gotten all the journals, you lot can now take the Cursed Captain to the transport with the ruby-red sails. He'll open the door for you, granting you access to the inside. Be certain to option him up and take him with you. The final periodical is also within in the captain's quarters.

Pop the Cursed Captain'south skull on his trunk and then take hold of the Cabin Key from him after his speech. Employ information technology to unlock the back door. Walk through the side by side ship, jump into the rowboat, and row straight until you come across the Ferry of the Damned. Dock your rowboat to its stern, become onto the send, and climb the ladder to attain the deck.
The Ferry of the Damned
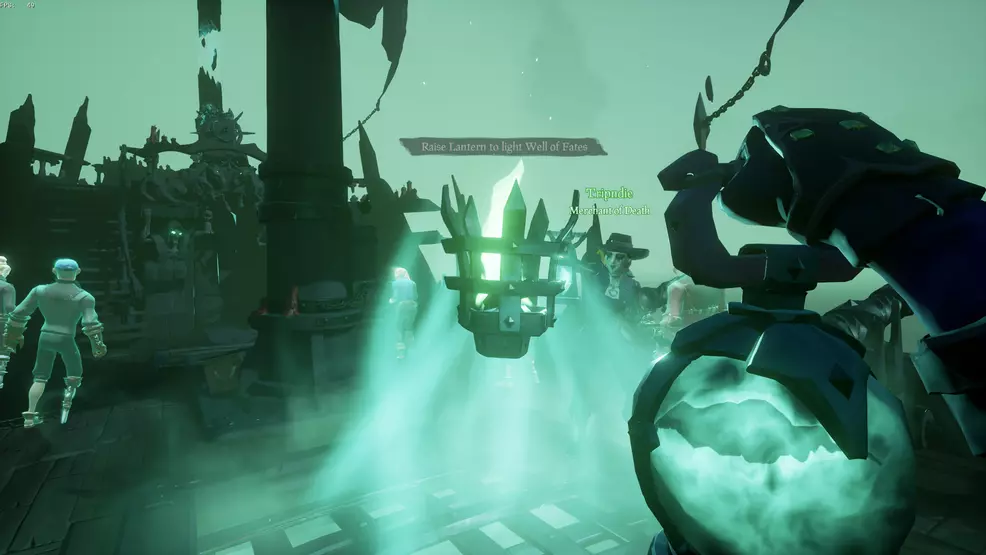
Once aboard the Ferry of the Damned, utilize your lantern to light the Well of Fates. Once it explodes, head beneath deck.
Calorie-free the lantern beside the door to unlock information technology. In the next room, close the sarcophagus to reveal a torch, light both torches in this room to unlock the door. Get into the next room and down the stairs. Caput to the other side of the room and interact with the dog to get the keys. Unlock the door to free the prisoner. Now, follow the prisoner back to the top of the transport.
All that's left to practise now is to defend the Ferry of the Damned. Employ the cannons to fire upon the Flying Dutchman. Replenish your fruit and cannonballs using the resource barrels below deck. At some points, Ocean Crawlers will come aboard, defeat them and go along upwardly the fight. Continue going until the fight ends and the Ferryman talks to you lot once more than. Go through the door to get back on to your send. Sheet it out until you return to the Body of water of Thieves.
A Pirate's Life Journals
There are 10 journals to be constitute in the outset chapter, A Pirate's Life. Five of these journals are written by the Cursed Captain and are all found in the Sailor'due south Grave. The other v are from the captain of the Headless Monkey, and are found in a cloak-and-dagger expanse.
Tales of the Damned - Journals
The first periodical is called The Booty of a Lifetime and it's in the tavern, at the very height on a table.
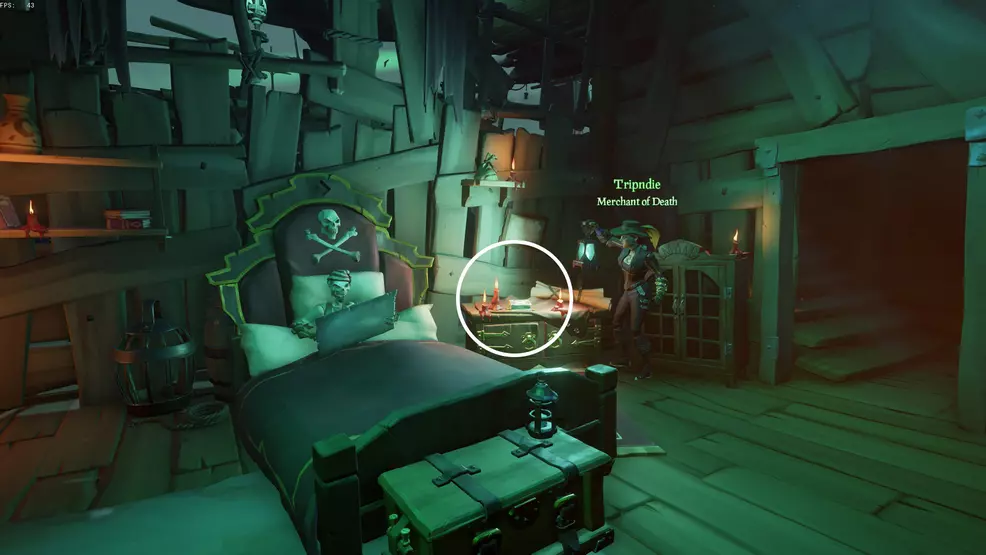
The second journal is called Dissent in the Ranks and it'southward in the room with the skeleton in the bed, on the bedside table.
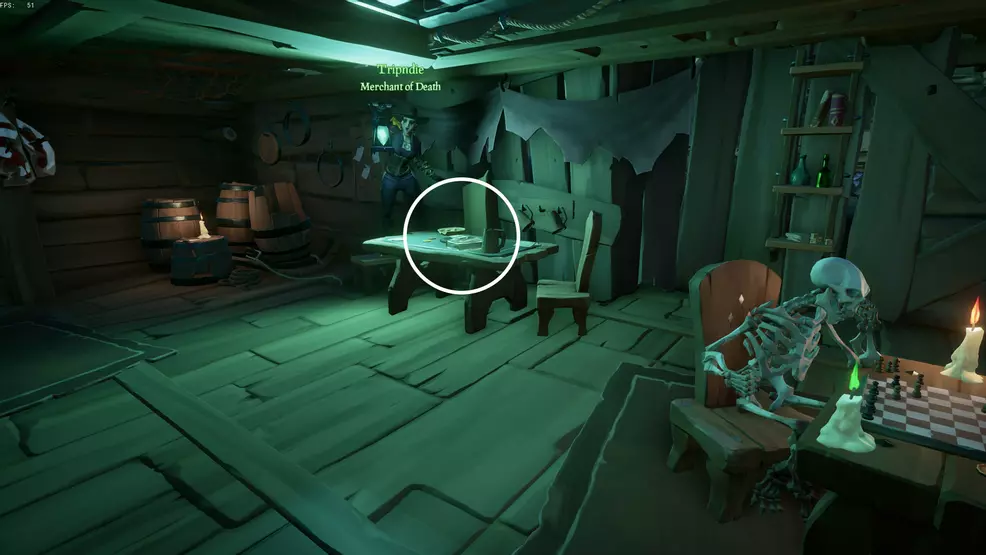
The third journal is chosen Off the Edge of the Map and is establish on a table near the two skeletons playing chess.
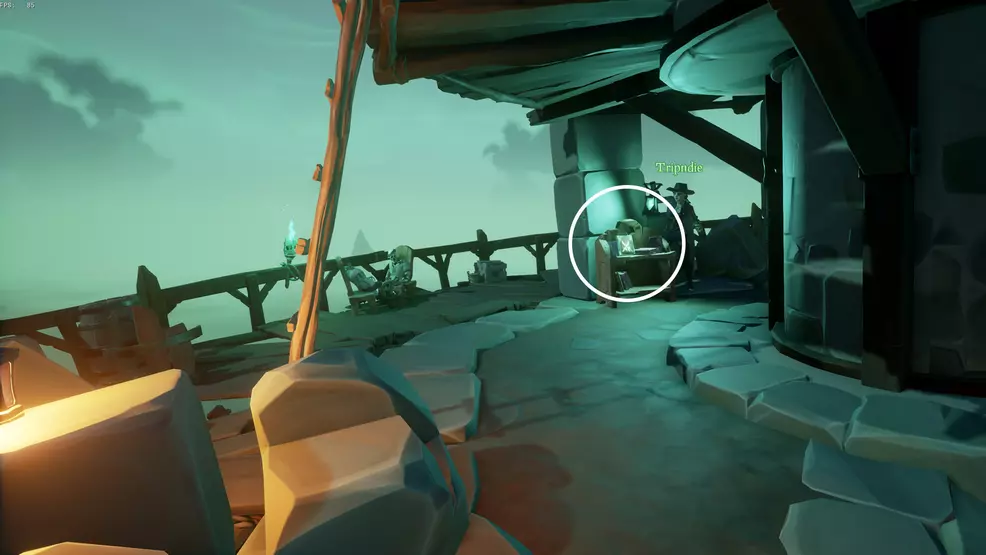
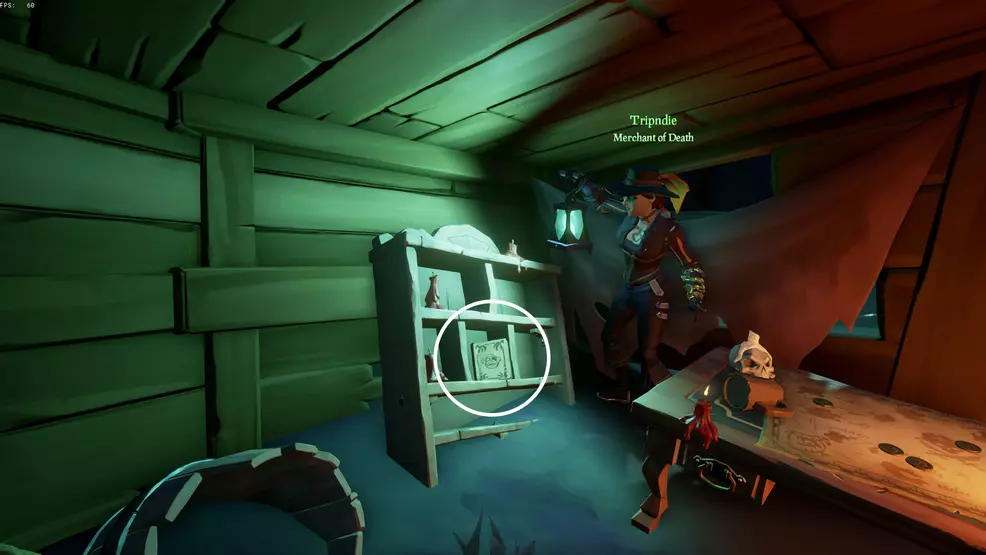
The fourth periodical is called Strange, Nevertheless Familiar and is found at the top of the lighthouse on a small bookshelf past two skeletons.

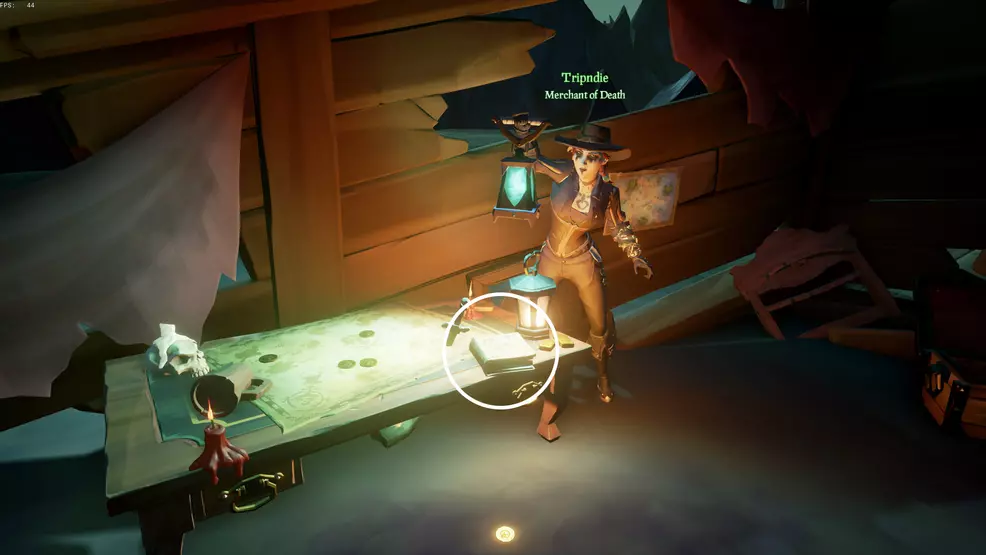
The firth journal is called Lights Out and it is institute in the captain'south quarters of the Cursed Captain'due south transport, on a bookshelf.
The Crew of the Headless Monkey – Journals
The journals of the Headless Monkey's captain are found at the start of the surface area, all around the shipwreck of the Headless Monkey ship. You will demand to accept completed all the other side quests in the area in order to move the sails behind the locked door on the ship. With the sails moved, you lot can utilize the lighthouse to lite the brazier.
To reach the Headless Monkey journals, backtrack past the Cursed Captain's muzzle, sticking to the northern side. You volition come beyond a now-raised bridge, granting you lot access to a previously inaccessible location. Cantankerous it to detect a shipwreck of the Headless Monkey. Grab the cardinal from the skeleton at the wheel to unlock the door in the side of the ship.
The get-go journal is called Somewhere in the Caribbean and is by the wheel of the send.

The second journal is called Raising the Mad Monkey and is in front of the cycle, on the mast.
The third periodical is called A Headless Monkey and is near the mast in the middle of the wreck.
The fourth periodical is called Fresh Waters and is in the bookshelf backside the locked door.
The 5th journal is called A Fateful Pursuit and is on the table abreast the map behind the locked door.
A Pirate'south Life is the first chapter in the similarly-named Tall Tale in Sea of Thieves. By completing the above steps in the given club, you should finish the affiliate with all the commendations unlocked and all your rewards. The main challenge will be reaching the Headless Monkey transport – if you can practise that you're all fix. Exist certain to check out the Shacknews Sea of Thieves Guide for more tips and content to assist you go your body of water legs.


A Pirate's Life Sea Of Thieves Guide,
Source: https://www.shacknews.com/article/125586/a-pirates-life-tall-tale-guide-sea-of-thieves
Posted by: fiorewhentely.blogspot.com
0 Response to "A Pirate's Life Sea Of Thieves Guide"
Post a Comment